
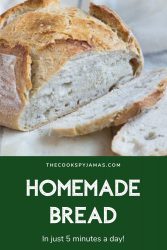


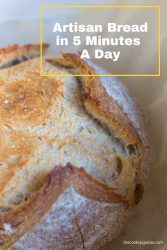
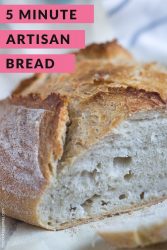
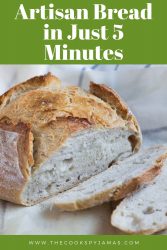
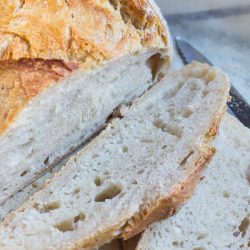
Artisan Bread in 5 minutes a day? It is absolutely possible with this simple recipe. Mix up a batch of dough, keep it in the fridge, then bake at will. No kneading, no waiting for loaves to rise, and so many tasty options for using the dough.
TOTAL TIME INVESTMENT: 35 MINUTES FOR 1 LOAF
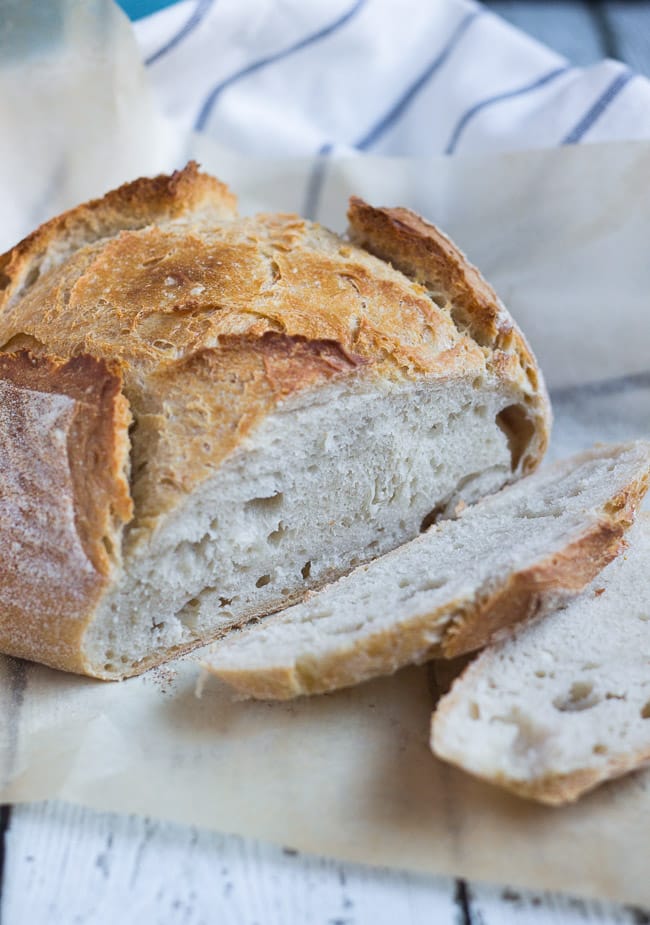
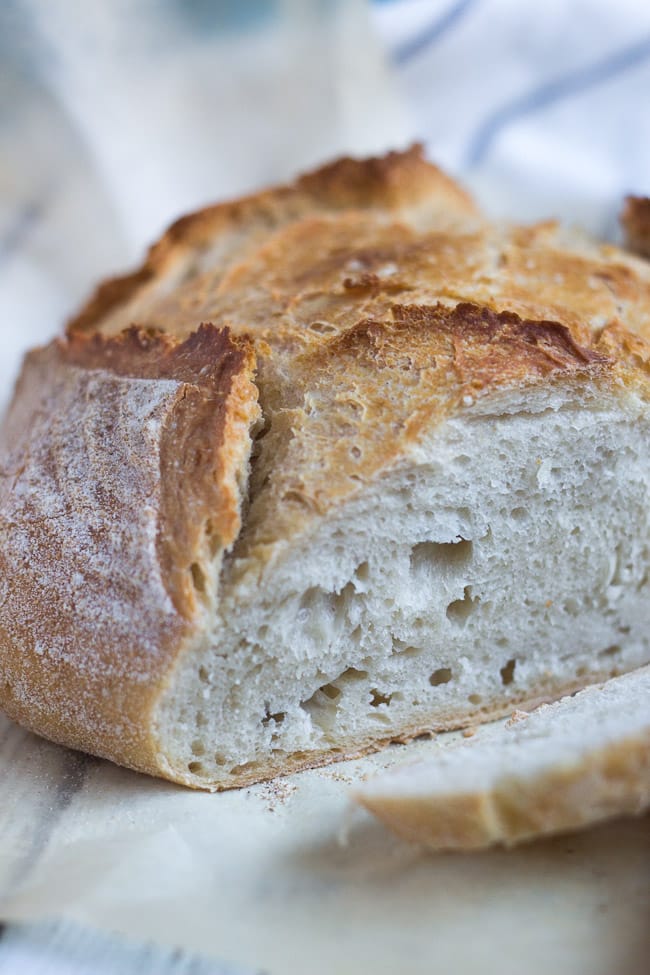
I love to make bread. There is something magical about starting with basic ingredients (flour, water, yeast, salt and time) and arriving at a crusty loaf of freshly made bread. I regularly make a standard sourdough loaf for our everyday needs such as toast and sandwiches.
For all my other breadmaking requirements though I rely heavily on a bucket of dough that lives in my fridge; dough made using the Artisan Bread in 5 Minutes a Day method developed by Jeff Hertzberg and Zoe Francois.
I consider a bucket of this easy 5 minute artisan bread a kitchen staple/basic – something I keep on hand that can be readily turned into delicious and easy meals.
Like more ideas for simple meals from kitchen basics? Then grab a free handy cheatsheet crammed with what I consider essential kitchen basics from my Resource Library. Simply click the link below or request the password at the end of this post.

Table of contents
What is 5 Minute No Knead Bread?
The Artisan Bread in 5 Minutes a Day method is quite unique in that rather than making a new batch of dough every time you wish to bake, you make a master batch of dough that lives in the fridge.
When you wish to bake a loaf of bread, all you need do is pinch off the appropriate sized piece of dough, shape it into whatever shaped loaf you like, and cook it in a hot oven.
It’s usefulness doesn’t stop there though. I use this dough for bread rolls, lunch scrolls , pizzas, focaccias, easy flatbreads and anything else I can think of.
Freshly made dough can be stored for up to two weeks in the fridge, depending on the recipe. Doughs made with eggs and butter have a shorter keeping time. And all doughs will break down over time but are still perfectly usable.
What I love most about the 5 minute bread method though is that the dough does not require kneading. Simply mix the ingredients together, leave it to rise then bake at will. Genius!
*We are a participant in the Amazon Services LLC Associates Program, an affiliate advertising program designed to provide a means for us to earn fees by linking to Amazon.com and affiliated sites.
Ingredient Substitutions for 5 Minute Bread
This is a simple bread recipe: flour, water. yeast and salt. In terms of substitutions, there is really not a lot of wiggle room here.
Having said that, I adapted the original Artisan Bread in 5 Minutes a Day recipe to suit my baking needs and the flours available to me. So there are a couple of small tweaks you can make according to the ingredients available to you:
- The original recipe uses unbleached, white all-purpose (plain) flour, whilst I prefer to use a strong bread flour as I always have a large bag of bread flour on hand. If you cannot locate bread flour, use all-purpose (plain) flour instead.
- The original recipe calls for Morton Kosher salt. I cannot source this easily in Australia so use Maldon sea salt or lake salt instead. Use any sea salt or course salt you have on hand.
Artisan Bread in 5 Minutes A Day – The Books
Jeff and Zoe have now published four books using their unique method:
- The New Artisan Bread in Five Minutes a Day: The Discovery That Revolutionizes Home Baking
- The New Healthy Bread in Five Minutes a Day: Revised and Updated with New Recipes
- Artisan Pizza and Flatbread in Five Minutes a Day: The Homemade Bread Revolution Continues
- Gluten-Free Artisan Bread in Five Minutes a Day: The Baking Revolution Continues with 90 New, Delicious and Easy Recipes Made with Gluten-Free Flours
I own all of these books, with the exception of the gluten free version (I really must remedy that). I love all of them, use them regularly, and can highly recommend them if you wish to explore the 5 minute no knead bread method further.
Equipment Recommendations for No Knead Bread Dough
As well as taking very little time and effort to make, 5 minute artisan dough needs very little equipment. You probably already have everything you need in your cupboards already.
You will need:
- A large, lidded storage bucket or container. I use a 5 litre food safe storage bucket which fits nicely on the bottom shelf of my fridge. This is slightly bigger than required, but it is what I had on hand. The container needs to be at least 4L though to enable the dough to rise.
- A set of kitchen scales.
- A large spoon. I use a stainless steel spoon to mix my dough (because it goes in the dishwasher), but a large wooden spoon is just as good.
A pizza stone is also useful for baking the loaf as it helps get a nice crust on the base. However it is a ‘nice to have’ item, not essential, so don’t worry if you don’t have one. I have had great success baking my loaves on a granite tile or a heavy baking tray.

How To Use Your Artisan Bread Dough
A bucket of the basic artisan bread in 5 minutes a day recipe is a staple in my fridge, and is frequently put to use in my kitchen. I drag out the bucket for easy lunches, to make a quick loaf to accompany soup or to whip up simple snacks for lunchboxes.
If you need inspiration, then check out these other recipes using the dough right here on the blog:
- Margherita Pizza Scrolls
- Quick & Easy Flatbreads
- Stuffed Garlicky Mushroom and Cheese Focaccia
- Mushroom & Blue Cheese Stovetop Pizza
- Homemade Frozen Pizzas
- Salami, Spinach and Cheese Scrolls
Tips For Bread-Making Success
This no knead bread recipe is pretty foolproof, but I do understand that if you are new to bread-making then the whole task may seem quite daunting.
So I have a few simple tips for you to ensure that your loaf is a great success.
- The dough is ready to use once it has finished rising. However it is much easier to handle if it is chilled first. I usually make the dough at least a day before I wish to use it.
- As the dough ages, the top of the dough will turn brown/grey, and a small amount of liquid will start to pool on the surface of the dough. The colour change occurs as the dough is exposed to air. This is perfectly normal and does not mean your dough is bad.
- The dough will start to lose structure as it ages and become more difficult to shape. I tend to use old dough (older than 1 week) for pizza bases and flatbreads rather than trying to form it into loaves.
- The older the dough, the more it will take on sourdough-like characteristics. If you do not like strong flavoured bread use the dough when it is still quite fresh.
- The water should be lukewarm. Do not use hot water as you will kill the yeast. You can use cold water instead if you are concerned about water temperatures; just be aware that this may increase your rising time.
- If you use lukewarm water, the initial rise will take approximately 2 hours (longer if you use cold water). The actual time taken for the dough to rise will depend on your room temperature, and it will take longer in cooler weather. I have also unintentionally risen the dough overnight on my bench top (read – forgotten to put the dough in the fridge and gone to bed) and the dough has still been perfectly fine to use.
- Once shaped, the dough will not appear to rise much at all during the resting time. This is perfectly normal, and most of the rising will occur in the oven.
- I use a piece of granite tile as my baking stone but I have also quite successfully baked the loaves on a baking tray. A pizza stone is perfect for baking your loaves if you have one.
- Jeff & Zoe bake their loaves with steam to achieve a beautiful crust. They have produced a video on the methods you can use to create this environment. I find in my oven that spritzing the loaf and oven with water is sufficient. You may need to experiment with your own oven to work out the best method for you.
- I have started to bake the loaves in a cast iron dutch oven with great success, as the dutch oven traps in the steam and helps produce a great crust.
If you have ever wanted to make your own bread, yet have been held back by the worry of kneading and rising times, then this method is for you. I promise that with a bucket of this dough in the fridge a quick meal will never be far away.
Enjoy!
Made this recipe? Tell me how it went in the comments below.
And if you loved it, please don’t forget to rate it.
Artisan Bread in 5 Minutes a Day Master Recipe
Note: I use a 20ml Tablespoon in this recipe.
Ingredients
- 675 g lukewarm water
- 20 ml (1 Tablespoon) dried yeast
- 20 ml (1 Tablespoon) crushed sea salt flakes
- 910 g bread flour
Instructions
To make the dough
- Weigh the lukewarm water into a 4 litre container.
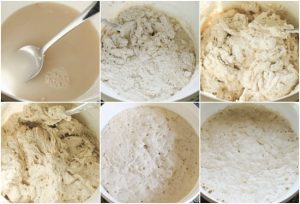
- Stir the yeast and the salt into the water, ensuring that there are no large lumps of dried yeast remaining in the water.
- Weigh in the flour.
- Stir gently until the flour is incorporated.
- Cover the container loosely with a lid to allow gasses to escape.
- Allow the dough to rise at room temperature.
- Once the dough has flattened and started to fall it is ready to use.
- If not using the dough immediately store in the fridge for up to two weeks.
To bake a loaf
- Sprinkle the surface of the dough in the container with flour.
- Pull up the dough and cut off approximately 500g (the size of a small melon) with kitchen scissors or a serrated knife.
- Shape the dough into a ball by gently pulling the sides of the dough underneath the ball on all four sides.
- Place the dough on a pizza peel or a piece of baking parchment and allow to rest at room temperature for about 40 minutes.
- About 20 minutes before you are ready to bake the loaf, place a baking stone in the oven and preheat to 200C.
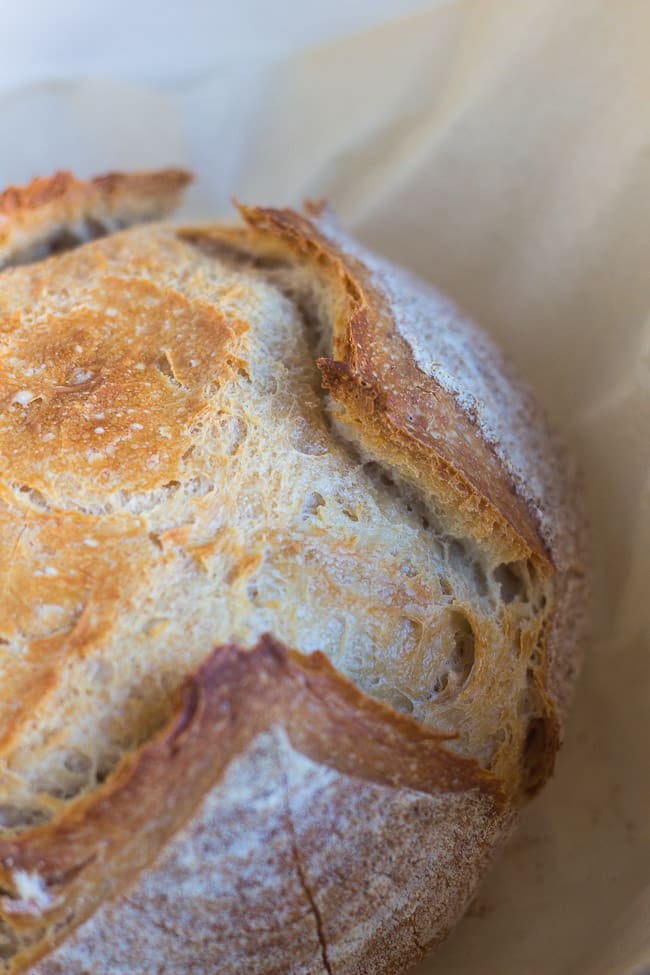
- When you are ready to bake the loaf, liberally dust the top of the loaf with flour and slash the loaf with a serrated knife.
- Place the loaf on the pre-heated baking stone.
- Using a water spritzer, spray both the loaf and the oven liberally with water.
- If you have transferred the loaf using baking parchment, remove the parchment once the loaf has started to brown.
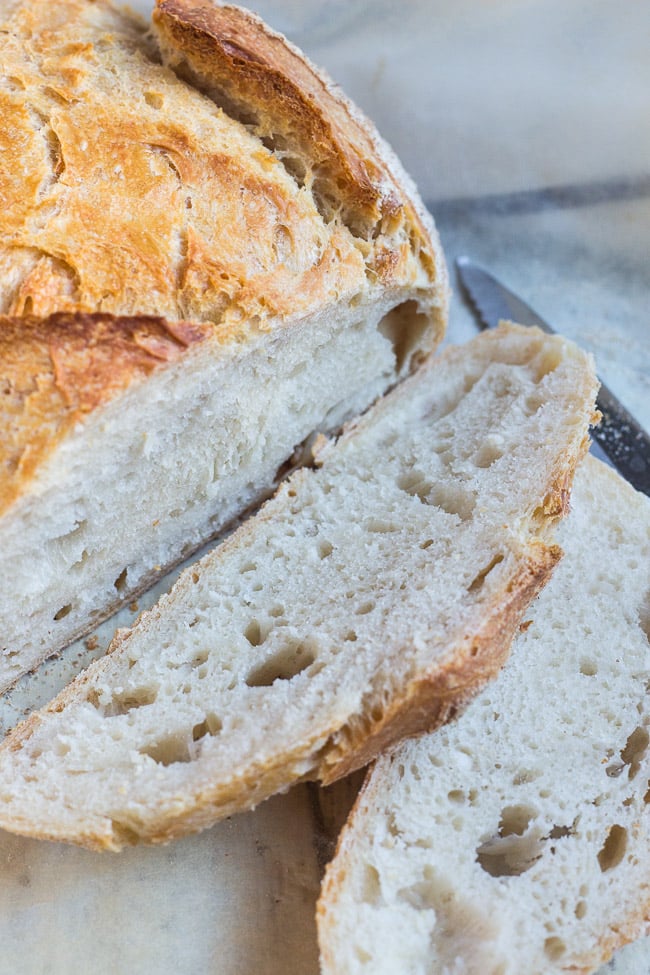
- Bake for approximately 30 minutes, or until the crust is deep brown and firm to the touch and the loaf sounds hollow when tapped on the bottom.
- Remove from the oven and allow to cool completely before slicing.
Notes
- I use a 20ml Tablespoon in this recipe.
- The dough is ready to use once it has finished rising however it is much easier to handle if it is chilled first.
- The older the dough, the more it will take on sourdough-like characteristics. If you do not like strong flavoured bread use the dough when still quite fresh.
- The water should be lukewarm. Do not use hot water as you will kill the yeast. You can use cold water, although this may increase your rising time.
- The initial rise will take approximately 2 hours. The actual time will depend on the room temperature and will take longer in cooler weather.
- Once shaped, the dough will not appear to rise much during the resting time. This is normal as most of the rising will occur in the oven.
- I use a piece of granite tile as my baking stone but I have also quite successfully baked the loaves on a baking tray.
- Jeff & Zoe bake their loaves with steam to achieve a beautiful crust. They have produced a video on the methods you can use to create this environment. I find in my oven that spritzing the loaf and oven with water is sufficient.
- I have also started to bake the loaves in a dutch oven with great success, as the dutch oven traps in the steam and helps produce a great crust.
- Nutrition information is provided for a whole bucket of dough. Actual nutrition will depend on how you use your dough and whether you add additional ingredients to your finished dish.
Update Notes: This post was published in 2013, and originally updated on 15th June 2016. It was substantially updated again on 31st March 2020 to include ingredient substitutions, additional tips, a Table of Contents, nutritional information and to improve the readability of the text.
Tania, they look fantastic – I’ve heard so many good things about that book! Love all the fabulous holes in your loaves! 🙂
Thanks Celia. Whilst I do love sourdough, I love always having this dough in the fridge so I can make flat breads or a loaf at a moments’ notice. They truly are great books. If you weren’t the other side of the country I would lend them to you : )
What books are you referring to please as I would love copies? Thanks Mariah
Hi Mariah, the links to the books are in the text above. Just click on the hyperlinks and the books will come up. Hope that helps. Tania
How did I miss this??! Do you think it would work OK with spelt flour? It might need a little more water maybe – I’ll let you know.
I love this dough Nancy. I remain a sourdough lover, but this is so useful for whipping up quick meals. I’ve never tried it with spelt, but would probably use slightly less water rather than more. Spelt seems to absorb the water differently so I always use less liquid to start when I am modifying with spelt. Let me know how it goes if you try it.