

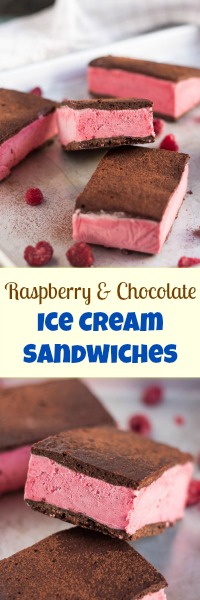
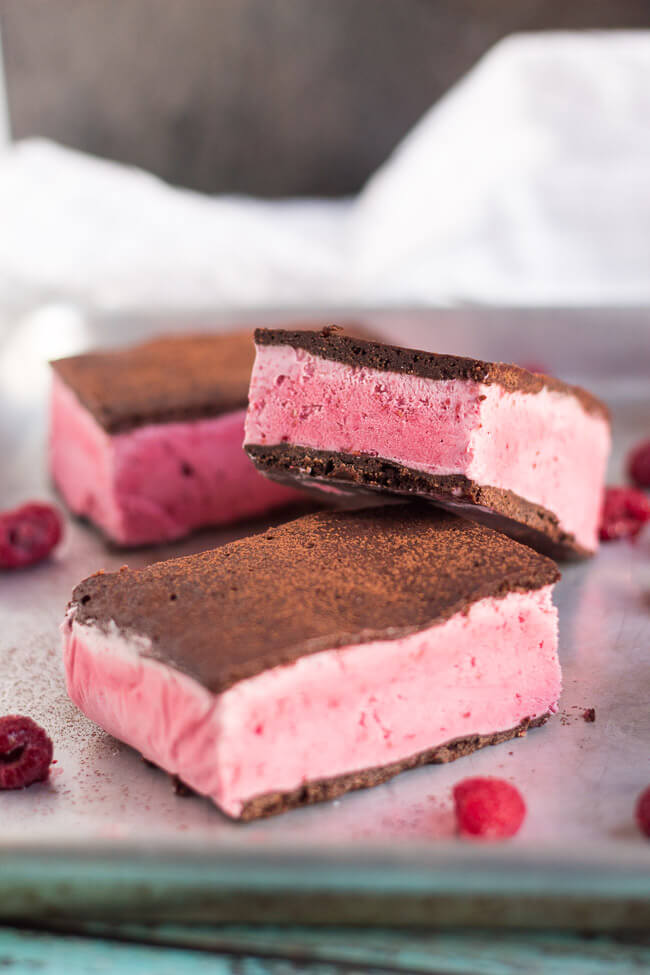
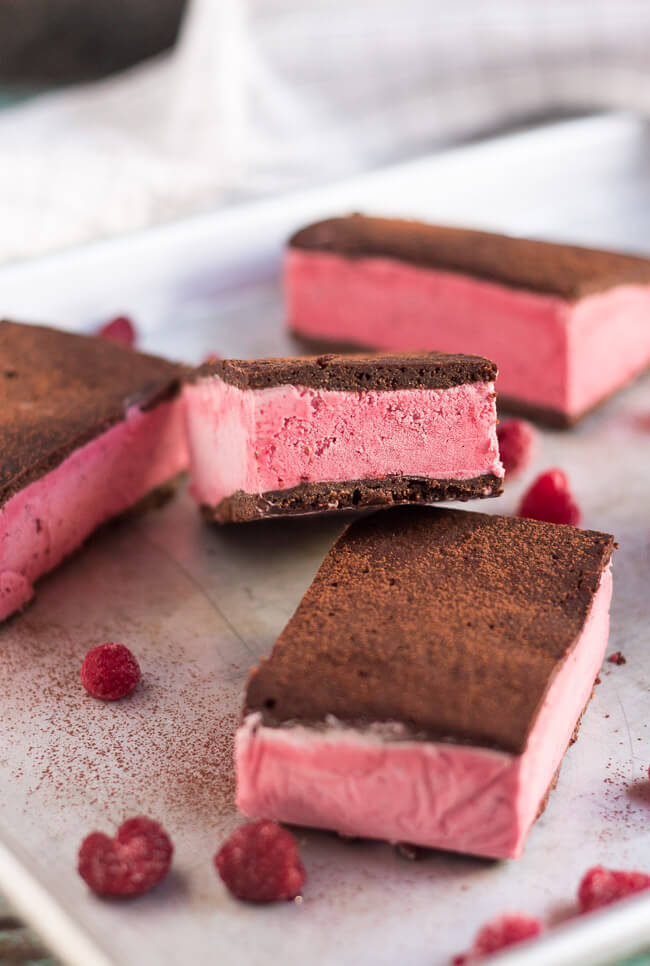
Have you ever thought of making your own ice cream sandwiches? They are actually very easy, and by making your own you get to dictate the flavour. Why not try my raspberry and chocolate version.
Total Time Investment: 40 Minutes + Overnight Freezing Time
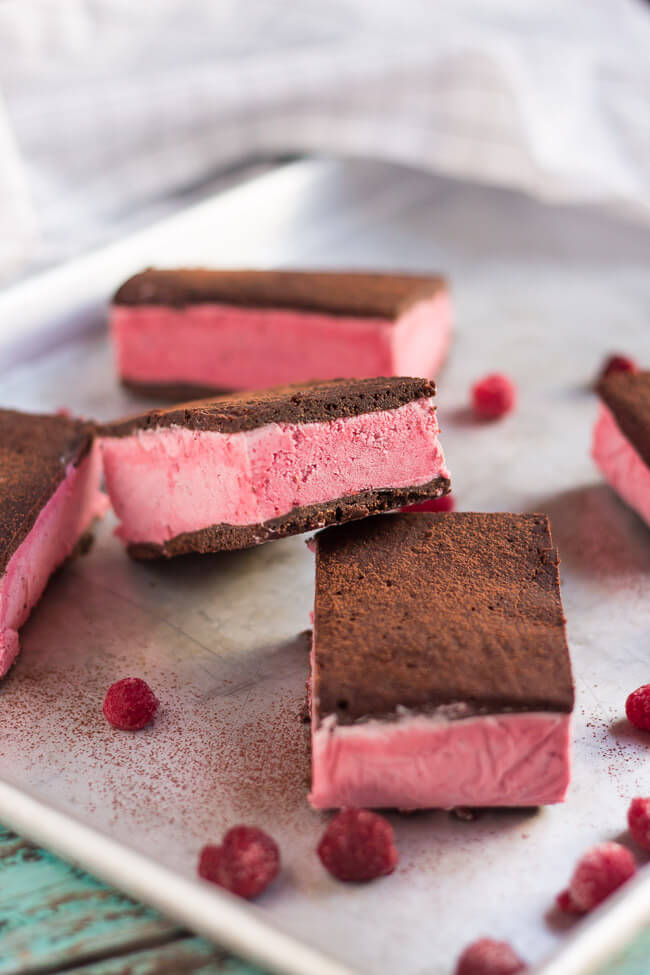
Summer finally arrived a few weeks ago, just as the calendar heralded the start of autumn. For a whole week we had a string of days where the temperature rose above 35C, and it was finally warm enough to break out the ice cream maker.
Growing up, I was never really a fan of the ice cream sandwich. I couldn’t understand the attraction of wedging perfectly good ice cream between two soggy wafers, and always headed for any other popsicle in the freezer. These days though I’m up for trying (almost) anything, and I’d been waiting for summer to appear so I could give ice cream sandwiches another try.
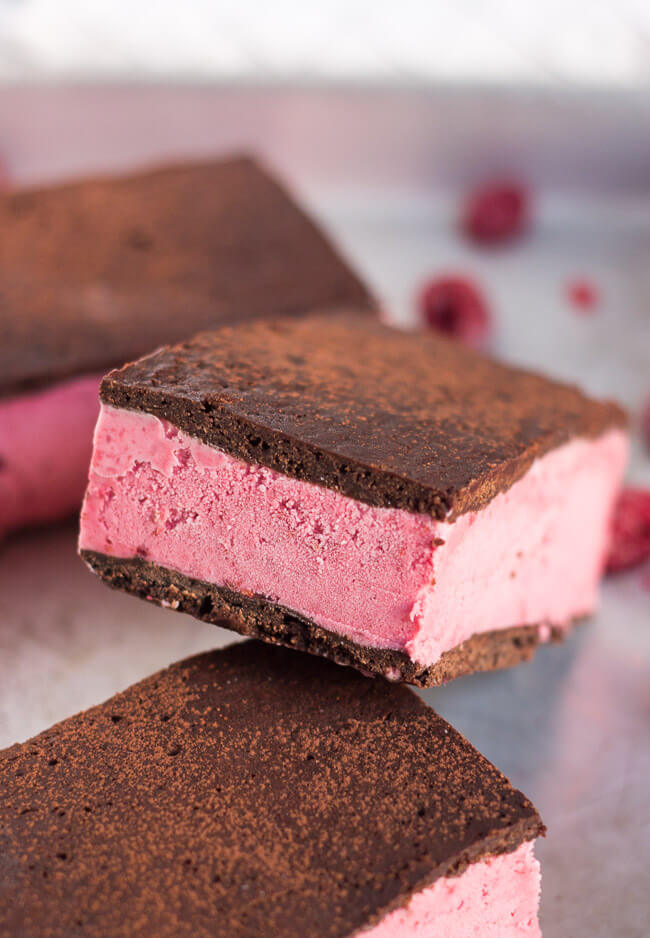
Ice cream sandwiches mean different things to different people, depending on where in the world you live. For me, an ice cream sandwich is made up of a thick slab of vanilla ice cream wedged between two layers of a thin cakey biscuit (for want of a better word). In other parts of the world people use wafers to hold the ice cream, whilst others use cookies. And in Singapore I have even seen ice cream sandwiches served with a piece of bread enveloping the ice cream.
Not being a huge fan of wafers, I think ice cream sandwiches are best made with either cookies or the thin layer of biscuit that I use in this recipe. Whilst making this recipe does require just a little more work that simply sandwiching ice cream between two cookies, I prefer it as it ensures there are enough ice cream sandwiches in the freezer for a whole week of desserts. Which will be perfect should summer decide to reappear for another week.
Ingredient Substitutions
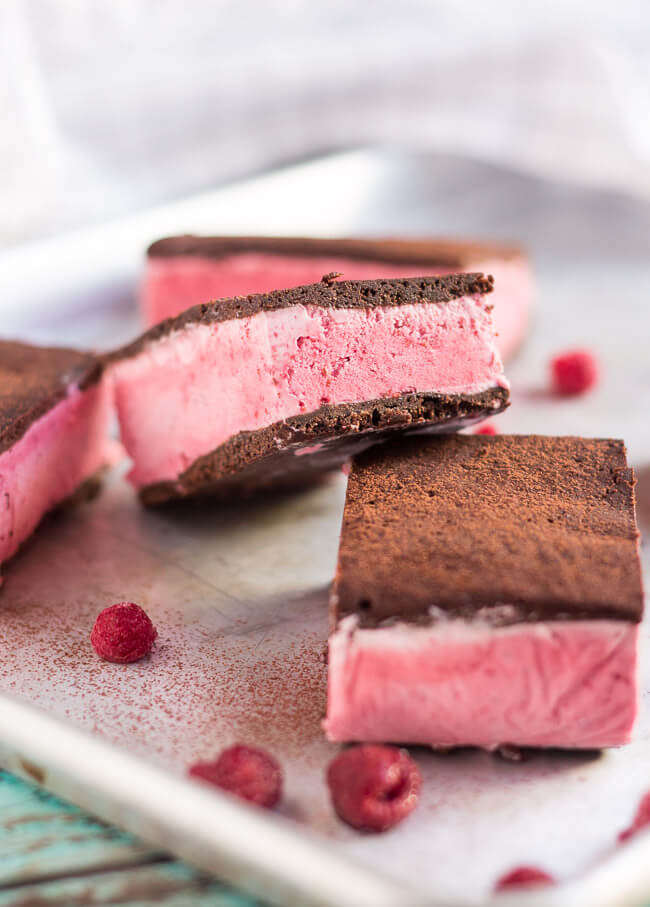
The ice cream recipe works well with any berries, and in particular strawberries. Frozen fruit can be used in place of fresh fruit, although allow the fruit to defrost before you add the cream. If the frozen fruit is not defrosted, the cream will freeze as it touches the fruit and you will end up with white spots in your ice cream.
Both the golden castor sugar and rapadura sugar can be replaced with white granulated sugar or white castor sugar. You can also replace the rapadura sugar with brown sugar.
Use wheat flour in place of the spelt flour. And use a gluten free plain flour to make the ice cream sandwiches gluten free.
Replace the unsalted butter with salted butter, but make sure to omit the pinch of salt from the recipe.
If you don’t want to make the chocolate biscuit base for these ice cream sandwiches, make the ice cream and use it to sandwich your favourite chocolate cookies together. You can also substitute the homemade ice cream for a good quality commercial variety instead.
Tips and Tricks for the Best Ice Cream Sandwiches
The best tip I can give you for making great ice cream sandwiches is to work fast. Make sure everything is organised before you assemble, or cut, the sandwiches. You don’t want to be searching for a knife whilst your sandwiches melt on the bench. Don’t take the tray out of the freezer until you are completely ready for the next step.
Homemade ice cream sandwiches will last for up to two weeks in the freezer if they are well wrapped. This makes them a great dessert for a gathering or children’s parties. Just cut them to whatever size you wish to make them go further.
And if you really can’t be bothered making sandwiches, just make the ice cream. It’s worth the effort, I promise.

Raspberry & Chocolate Ice Cream Sandwiches
Ingredients
Raspberry Ice Cream
- 300 g (2 1/4 cups) raspberries fresh or frozen
- 200 g (1 cup) golden castor sugar
- 600 ml (2 1/2 cups) whipping cream
- 1 egg
- 1 teaspoon vanilla extract
Raspberry & Chocolate Ice Cream Sandwiches
- 115 g (1/2 cup) unsalted butter
- 80 g (1/2 cup) rapadura sugar
- 1 egg lightly beaten
- 1 teaspoon vanilla extract
- 65 g (1/2 cup) spelt flour
- 45 g (1/4 cup) cocoa powder
- Pinch salt
- 1 Litre (1 quart) raspberry ice cream slightly softened
Instructions
To Make Raspberry Ice Cream In A Machine:
- Place all the ingredients into a food processor, and blitz until everything is combined.
- Follow the manufacturer's instructions to churn the ice cream.
- Transfer the frozen ice cream to a container and freeze for at least an hour before constructing the sandwiches. Freeze for longer if you are just eating it as ice cream.
To Make Raspberry Ice Cream By Hand:
- Whip the cream until soft peaks form.
- Place the remainder of the ingredients into a food processor and blitz until pureed.
- Gently fold the raspberry puree into the whipped cream.
- Pour the mixture into a shallow tray and place in the freezer.
- When the edges and bottom of the ice cream have started to freeze (after about 45 minutes), take the tray out of the freezer and stir the frozen portion back into the liquid. The mixture will turn slushy.
- Return the tray to the freezer for another 45 minutes.
- Repeat the stirring process at least two more times. You may need to wait less time between stirrings depending on how good your freezer is.
- The ice cream is ready to use when it is frozen but still slightly soft. If you want to just eat it as ice cream, freeze for a further 4 - 6 hours, or until firm.
To Make The Biscuit:
- Preheat the oven to 175C.
- Grease a 25cm x 38cm Swiss Roll tray, and line with baking paper. Take the baking paper quite high on the ends of tray, and allow it to overhang the sides. This makes it easier to lift the tray out of the biscuit. Set the lined tray aside.
- Place the butter and sugar into a medium saucepan over a medium heat. Stir gently until the butter melts, then set side to cool slightly.
- Sieve the flour and cocoa powder together, then set aside.
- Stir the egg, vanilla extract and salt into the melted butter.
- Add the flour and cocoa powder into the liquid mixture, and stir until the dry ingredients are incorporated. You will have a smooth batter.
- Pour the batter into the lined tray, then use a silicone spatula (or similar) to spread the batter evenly over the base of the tray. It will be quite thin so just try to get it as even as you can.
- Bake for approximately 10 minutes, or until the biscuit is dry to the touch and is starting to pull away from the sides.
- Remove the tray from the oven, and allow the biscuit wafer to cool in the tin.
To Construct The Ice Cream Sandwiches:
- Lift the biscuit wafer out of the tin, using the baking paper to do so. Keeping the biscuit on the paper, cut it in half with a serrated knife.
- Lay out a large length of plastic wrap on the bench. The length should be double that of the baking tray.
- Carefully place one half of the biscuit in the middle of the plastic wrap. I find the easiest way to do this is to lift the biscuit up, still on the paper, and then flip it on to the plastic wrap. Then remove the paper.
- Spread the softened ice cream evenly over the biscuit.
- Carefully lay the other half of the biscuit on top of the ice cream. This is slightly trickier, so I line up one long side of the biscuit with the edge of the part-constructed sandwich, then gently drop the biscuit on to the ice cream.
- Gently press the biscuit onto the ice cream. Try to pat out any air bubbles so that the biscuit is completely in contact with the ice cream.
- Pull the plastic wrap tightly up the sides of the sandwich, and gently lift the whole assembly on to a tray that will fit in your freezer.
- Freeze for at least 2 hours, or until firm. I like to freeze this overnight.
To Cut The Ice Cream Sandwiches
- Once firm, remove the plastic wrap and place the sandwich on a cutting board.
- Using a serrated knife, cut into large rectangles. I make eight large rectangles, but you can easily cut it into smaller rectangles should you prefer.
- The ice cream sandwiches can be served immediately. If you wish to store them, wrap each sandwich individually in plastic wrap and return to them the freezer until required.
I’ve been playing with homemade ice cream sandwiches too, this summer and have discovered a whole new food group to make me fatter!
I think the problem lies in the testing. It is imperative to make more than one batch, which then of course needs to be eaten.
yummmmmmmmmmmmmmmmmmmmmmmmmmm love it
These look fabulous! I’m also a late starter on the icecream sandwich but I’m going try and make up for lost time.